Technology
TCP/IP communication between web browser and microcontroller
1. Introduction
1.1 The project below is a short examination of the Curiosity evaluation board for TCP/IP demonstrations.
1.2 Two demonstration projects have been tried here. Zip files below for firmware.
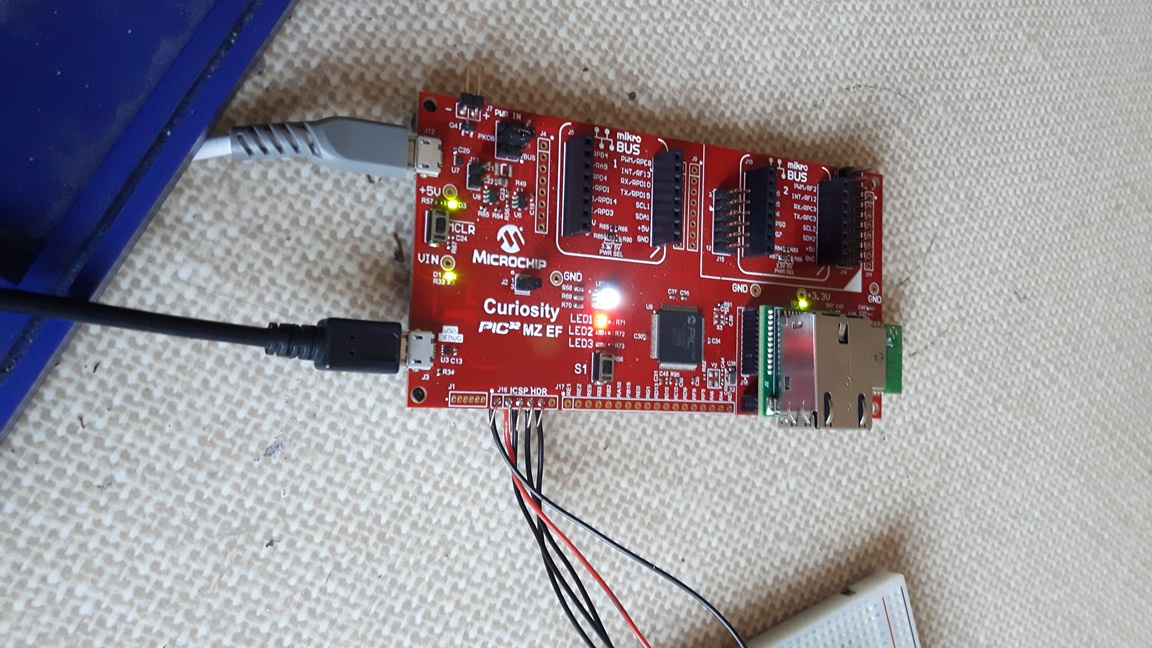
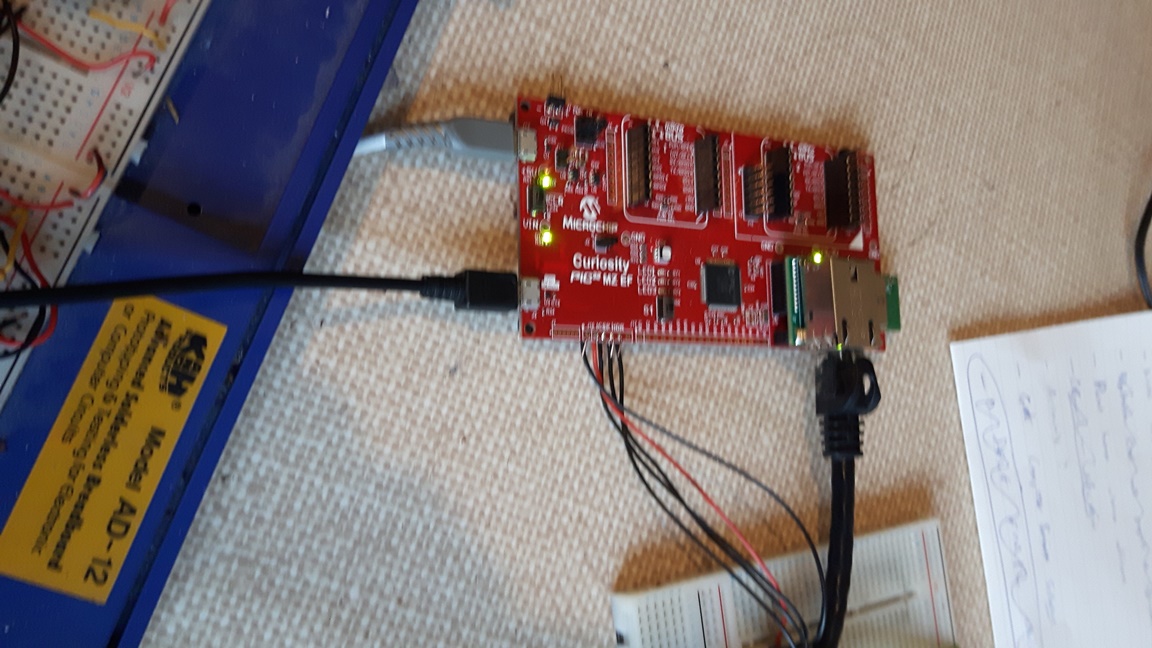
1.3 Photographs show how to set up the Curiosity MZ EF evaluation board.
1.4 The board was purchased as a kit: the AWS FreeRTOS bundle. I will not go into the details of setting up an Amazon Web Services account. But, I do state that I made the purchase in order to get the Wifi 7 Click transceiver, the USB to serial UART card, and the physical landline connector for connection by ethernet to a router. These three things came with the Curiosity board.
1.5 I have used Amazon Web Services before when setting up this internet site. I do not advise it.
1.6 The walk-through of how to set up an AWS is incredibly difficult due to the hyperlinked style of the instructions.
1.6.1 Additional stress is caused by having to open up paid-for elements.
1.6.2 Finally, the FreeRTOS AWS services are gathered toghether alongside dozens of other services, making for a cluster-fuck (as we used to say). There is too much going on, a terrible set of help documents, and the badly-concealed intention of taking your money.
1.6.3 End of the day, I get a bad feeling dealing with this company, and AWS is based on the idea that you will no longer use servers of your own, but their own servers. It disgusts me. Especially from a one-time book seller.
1.6.4 Finally, having made the mistake of toiling over the instructions, when it came to compiling the code which AWS supply, it did so with errors.
1.6.5 I made the further mistake of trying to find the root of the errors for a day or so, without success before recalling that I only bought this 'bundle' because the Wifi and Ethernet boards came together, and that this made it easier to buy it (from Farnell).
1.7 Avoid the AWS FreeRTOS software.
1.8 It was no easier with the native microchip firmware (attached, below). This didn't compile either. But I felt it necessary to persist.
Wifi connection:
Ethernet connection:
2. Set up
2.1 In order to compile the code and get the demonstrations working, I needed to alter the settings of MPLAB.
2.1.1 The most recent version of xc32 does not support certain #define features for change notification settings. To cut any fuss about finding which particular file of the more than 1000 of them involved, I downloaded and used version 1.42 of the xc32 Compiler.
2.1.2 In addition, the version of MPLAB which I had installed (5.1) does not compile either, so upgrade to 5.35, which does work.
2.2 In order to debug the demonstrations, and to carry out certain tasks, it is necessary to use the serial console to see what is going on. For this, use the USB micro port
as well as the USB power port on the board, as can be seen in the photographs, above. Baud rate is 9600.
3. The demonstrations (1)
3.1 The demo files from Microchip for this board, along with the instructions, are attached below.
3.2 The RGB Easy Connect Demonstration makes use of some files which you burn onto the chip, which allow it to create a couple of web pages.
3.3 First, open a serial port, which will show the default IP address of the wifi network which you will connect to; and, use a phone or PC to scan for available networks. You will find the one which the Curiosity board is sending out.
3.3.1 Effectively, the board is behaving like an internet access point.
3.4 Join the board's network, and go to its default IP address in the browser of your PC or phone. This opens a couple of simple web pages.
3.5 It is then possible to interact with the Curiosity board and the chip via your web browser.
3.5.1 In this case, you are able to change the colour of the RGB LED. It would be possible to do very low security Internet of Things tasks with this software, moving a robot, or something.
3.5.2 Without adding some kind of security it would be possible for any wifi enabled device to connect to this network, find the simple IP address, and hijack the connection.
3.6 See the instructions document, below.
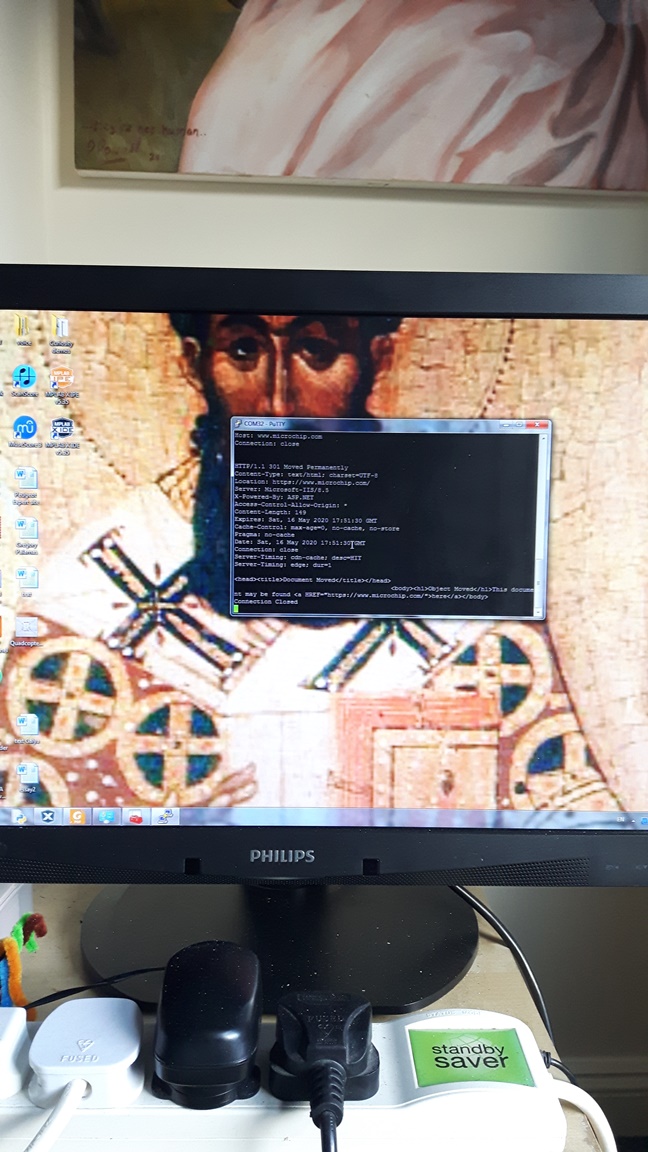
Photo: Here is a proof of life photograph showing the output from the console.
4. Demonstrations (2)
4.1 Here I examine the TCP Client and Server demonstration.
4.1.1 Firmware and instructions attached.
4.1.2 As before, the serial console, MPLAB version 5.35, and xc32 v.1.42 must be used.
4.2 See the instructions for what to do to enable the demonstration. The physical connection with the LAN8720 card is required.
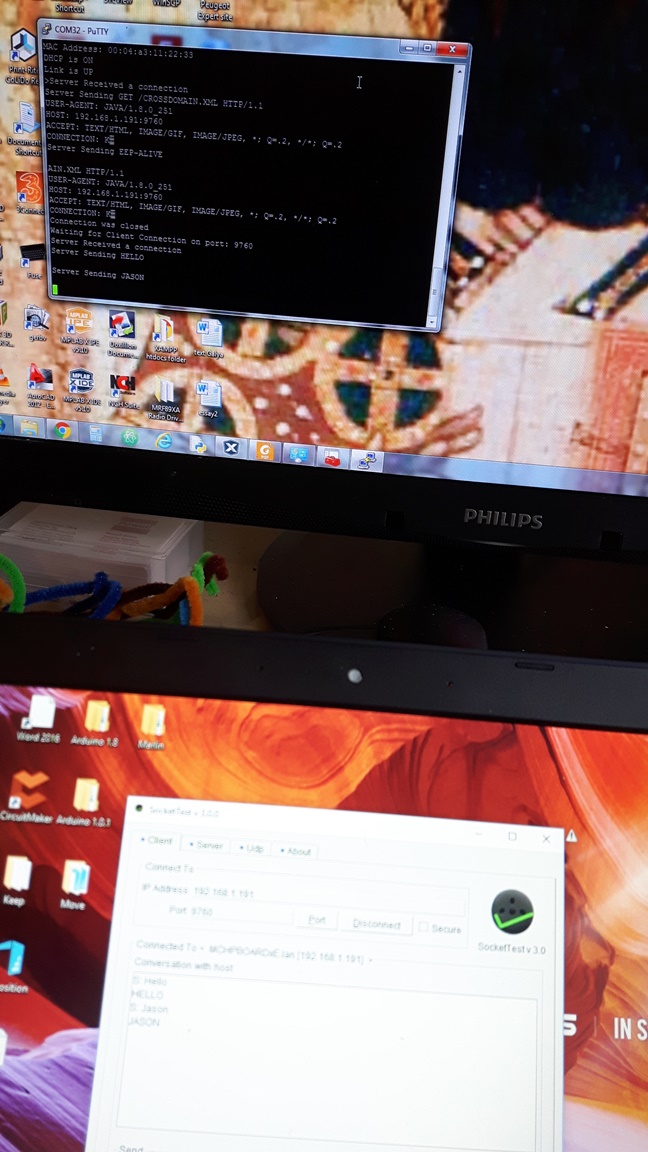
4.2.1 It is also necessary to use the SocketTest software to check whether the board acts as a server - which indeed it does.
Photo: Here is a proof of life photograph showing the output from the console and from SocketTest.
5. Firmware
Download Firmware for RGB Easy config demo
Download Firmware for Client / Server demo
6. Datasheets
RGB Demo instruction sheet
TCP / IP client server demo instruction sheet
7. End
Design Jason Powell, 2020.